Microsoft Paint certainly isn't the best photo editor to use in resizing photos, but it's one of the easiest, and certainly the most ubiquitous since it ships with every version of Windows. In order to resize JPG's, you must have the version of Paint that ships with Windows 98 or later. The earlier version that shipped with Windows 95 won't handle JPG's. That being said, here's a step-by-step on resizing using Paint.
1 - Start Paint - Start | Programs | Accessories | Paint.
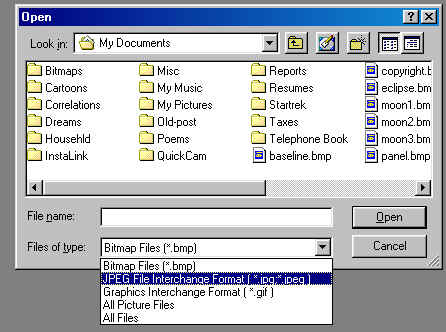
2 - Open the Photo File - set the File of type to JPEG - it defaults to Bitmap.
3 - Once you have the file open, select Image | Attributes from the Menu.
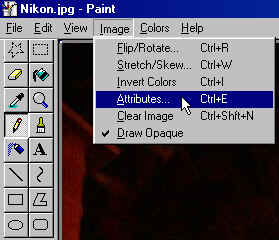
This will display the photo’s size.
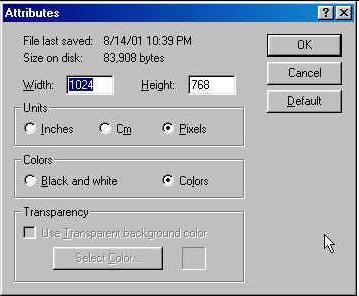
4 - Note that in the example, the photo’s width is 1024 pixels. To resize the photo to 640 pixels wide, divide 640 by 1024...
640 / 1024 = 0.625
Now multiply by 100 to convert to a percentage...
0.625 * 100 = 62.5%
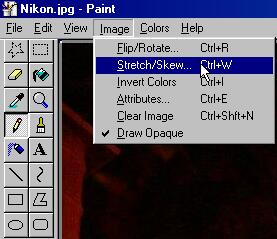
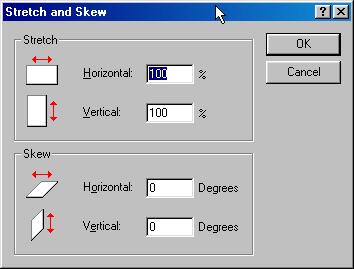
5 - Close the Attributes window and select Image | Stretch/Skew from the Menu.
The default size in the Stretch Frame is 100% for both Horizontal and Vertical.
6 - Since Paint won’t allow fractional values here, round down and change both boxes to 62%.
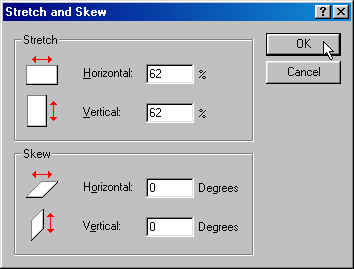
Click OK. The photo will be resized to 62% of its previous size, or 634 x 476 - close enough.
7 - Select File | Save As from the Menu.
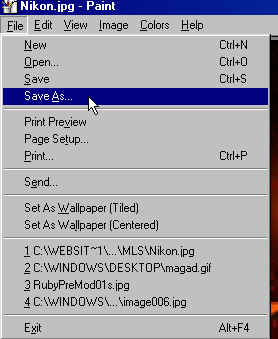
As with the File Open dialog box, make sure the File of type is set to JPEG (otherwise you'll save as a Bitmap). Give the file a different name so as not to overwrite the original.